Documentation
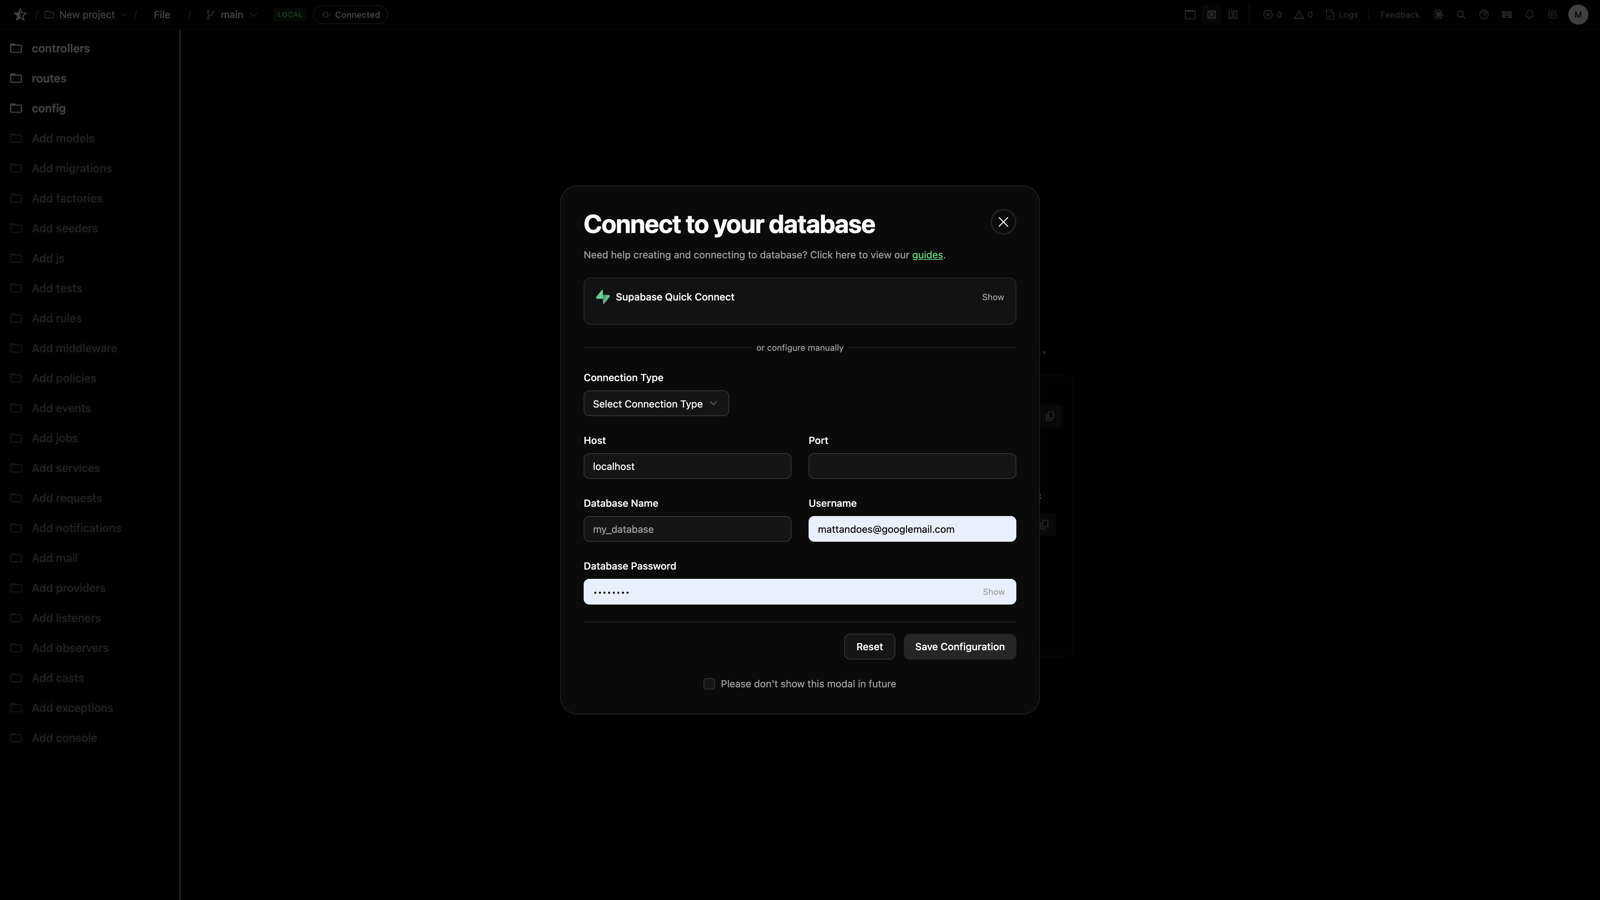
Database Connection
Connect your project to an external database
Stellify requires an external database to store your application data. Connect to any MySQL or PostgreSQL database.
Overview
Your Stellify project needs a database connection to run migrations, store data, and test your application. Stellify doesn't host databases—you bring your own from providers like Supabase, PlanetScale, Neon, or your own server.
Supported Databases
- MySQL - Version 5.7 or higher
- PostgreSQL - Version 12 or higher
- MariaDB - Version 10.3 or higher
Connecting with Supabase
Supabase provides a free PostgreSQL database that works well with Stellify.
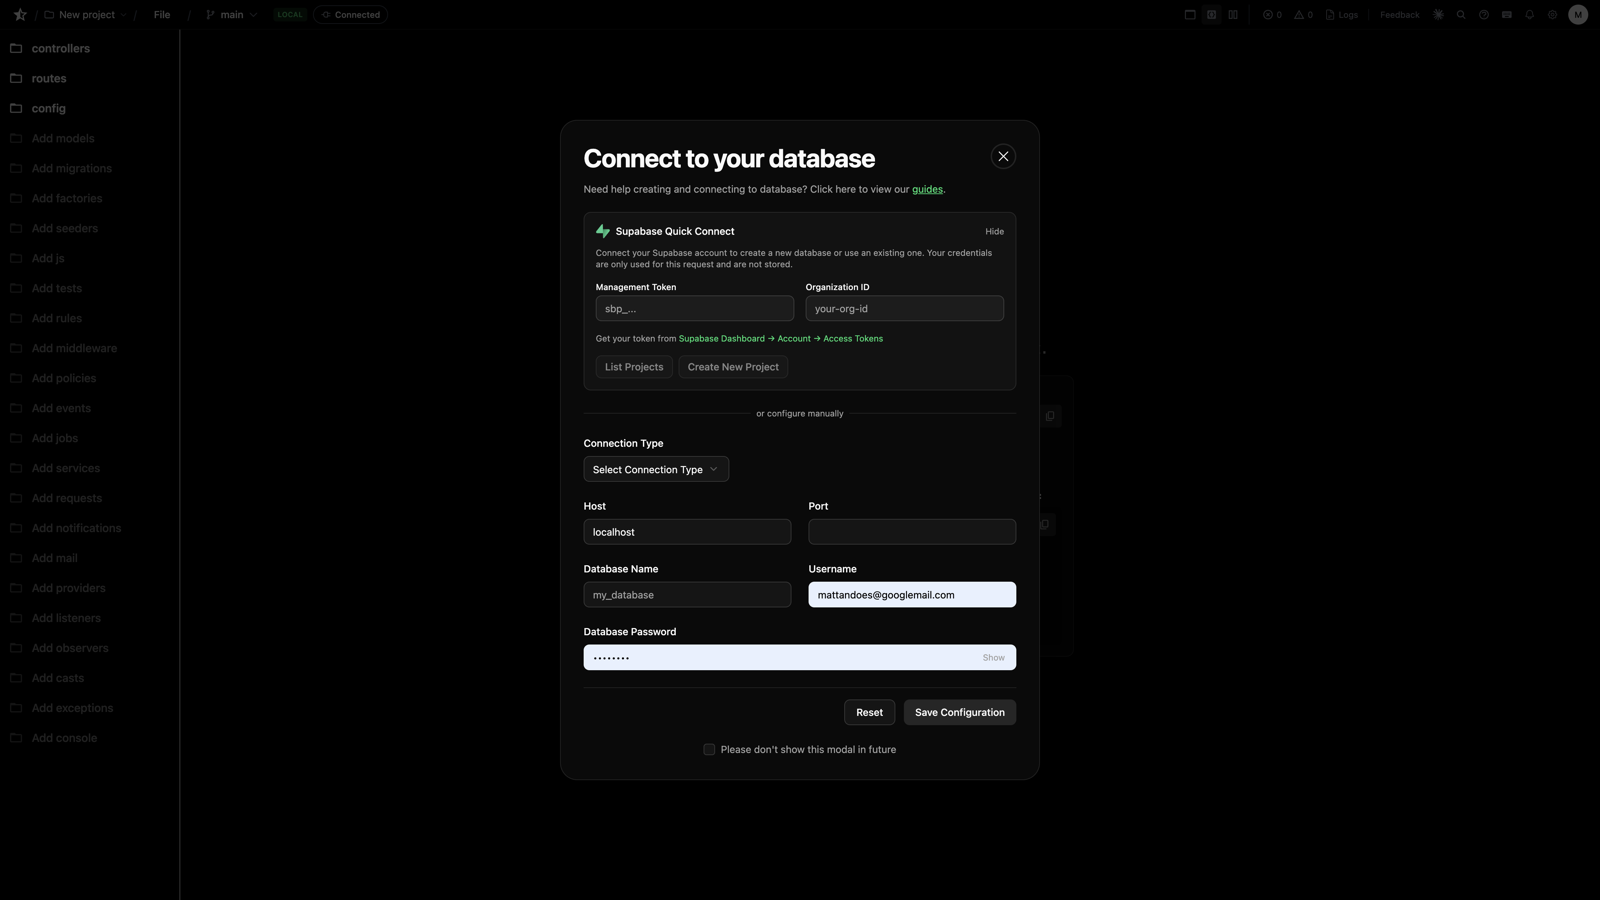
Quick Setup
- Create a free account at supabase.com
- Create a new project
- Go to Settings → Database in Supabase
- Copy your connection details
- Paste them into Stellify's database settings
Connection Details
From Supabase, you'll need:
- Host: Your project's database host (e.g.,
db.xxxxx.supabase.co) - Port:
5432(PostgreSQL default) - Database:
postgres - Username:
postgres - Password: Your database password
Other Providers
PlanetScale (MySQL)
- Create a database at planetscale.com
- Create a branch (or use
main) - Click Connect and select Laravel
- Copy the connection details to Stellify
Neon (PostgreSQL)
- Create a project at neon.tech
- Copy the connection string from your dashboard
- Enter the details in Stellify
Self-Hosted
If you're running your own database server:
- Ensure the database is accessible from the internet
- Create a database and user for your project
- Grant the user full permissions on the database
- Enter your server details in Stellify
Testing the Connection
After entering your credentials, click Test Connection to verify Stellify can reach your database.
If the connection fails, check:
- Firewall rules: Ensure your database allows external connections
- Credentials: Double-check username and password
- SSL: Some providers require SSL connections
- IP allowlist: Some providers require you to allowlist IP addresses
Running Migrations
Once connected, you can run migrations from Project Settings:
- Go to Project Settings → Database
- Click Run Migrations
- Stellify executes all pending migrations
You can also run migrations when creating models or using the resource scaffolder.
Next Steps
- Project Settings - Other project configuration
- Code Editor - Create models and migrations
- Getting Started - Begin building your app
- Previous
- User Settings
- Next
- Working with AI